SpinFire Manage WebApp Install
Open a PowerShell window as an administrator, and enter the following command.
CODE.\SpinFire ManagewebApp.exe
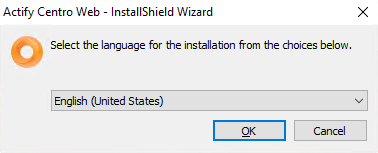
Select the language of the installation. Click OK
Click Next.

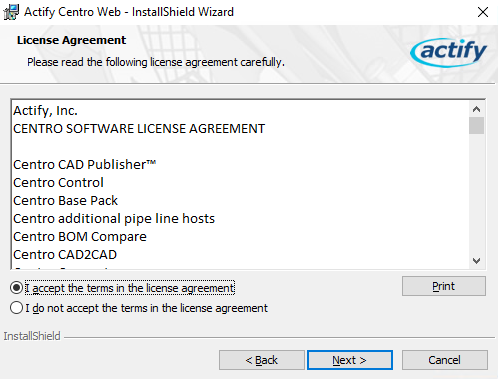
Select I accept the terms in the license agreement and click Next.
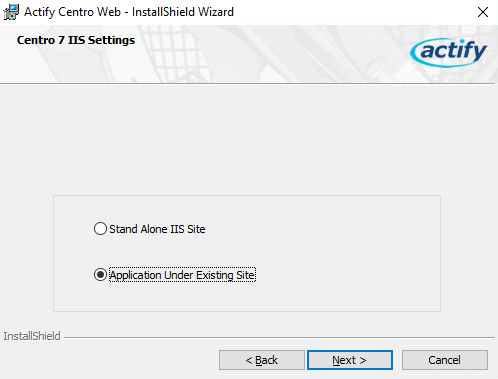
Select the type of site and click Next.
(Application Under Existing Site is the recommended configuration esp. for Distributed Deployments)
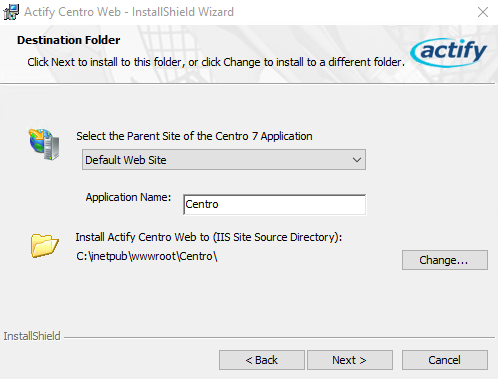
6a. For applications under exist site,
select the parent site,
application name*,
and the source directory.
Click Next.
*If you change the Application Name, then the address of the WebApp_JobEventHandler endpoint in the WCF client configuration of Pipeline Manager must be changed as well.
In "C:\Program Files\Tech Soft 3D\SpinFire Manage\PipelineManagerService\Configuration\WCF" edit,
local_client.config
remote_client.config
Example,
If I install SpinFire Manage with the name "SpinFire Manage-install", then I need to change the endpoint address to "net.pipe://localhost/SpinFire Manage-install/JobEventHandler_svc/JobEventHandler.svc" in Pipeline Manager.
<endpoint address="net.pipe://localhost/SpinFire Manage-install/JobEventHandler_svc/JobEventHandler.svc" binding="netNamedPipeBinding" bindingConfiguration="named_pipe_binding" contract="KitKat.ServiceContracts.ManagerContracts.IJobEventHandler" name="WebApp_JobEventHandler" />
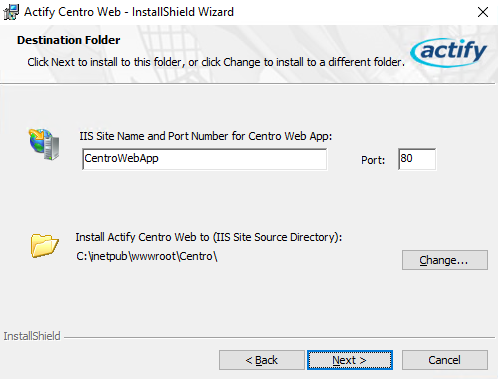
6b. For Stand-Alone IIS sites, indicate the site name, port and installation location. Click Next.
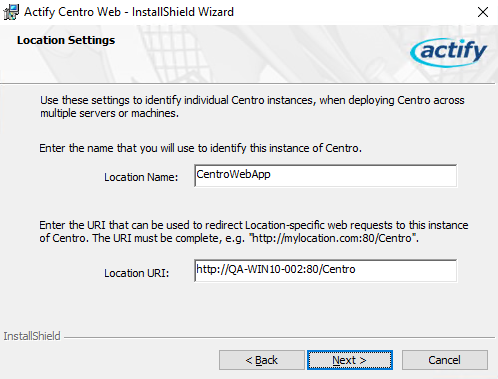
Set the Location name for this SpinFire Manage instance and the Location URI (how your user base will access the SpinFire Manage instance. Note: Direct IP addresses should not be used).
Click Next.
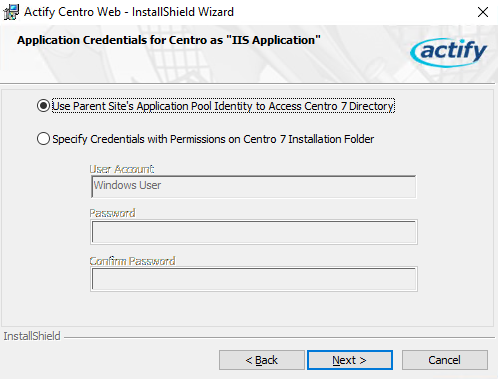
For applications under exist site, use the default or specify credentials for the SpinFire Manage 7 directory.
Click Next.
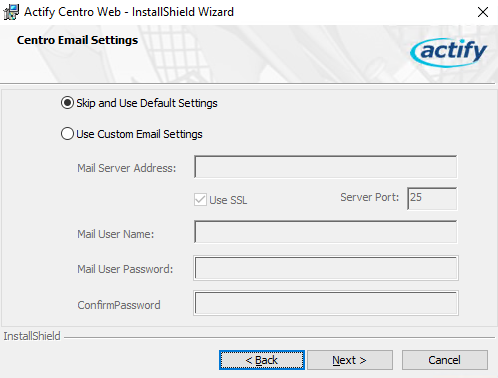
Enter email server information or choose to skip. Click Next.
Enter the IP address of the system containing the ArangoDB.
Enter the database user name and password that the application uses to connect to the database.
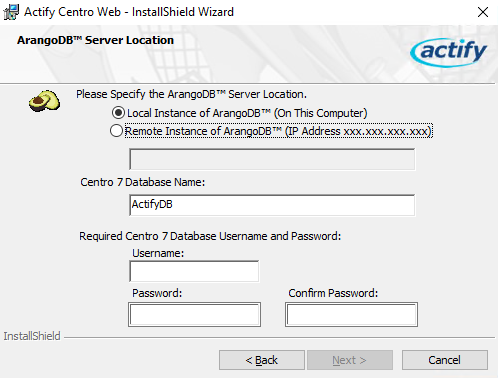
It is recommend using a created database user other than the root user.
Click Next.
Note
If you need to change the credentials for the SpinFire Manage Web App to access the database, see Setting Credentials for SpinFire Manage.
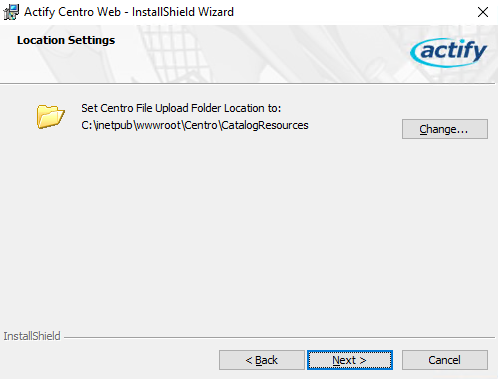
10. Select the location where uploaded catalog resource files will be stored and click Next.
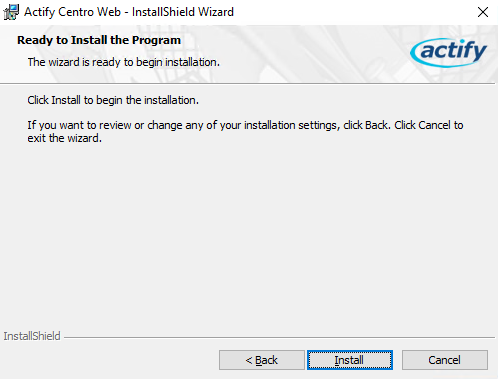
11. Click Install.
12. Allow for the application to install

13. Click Finish.
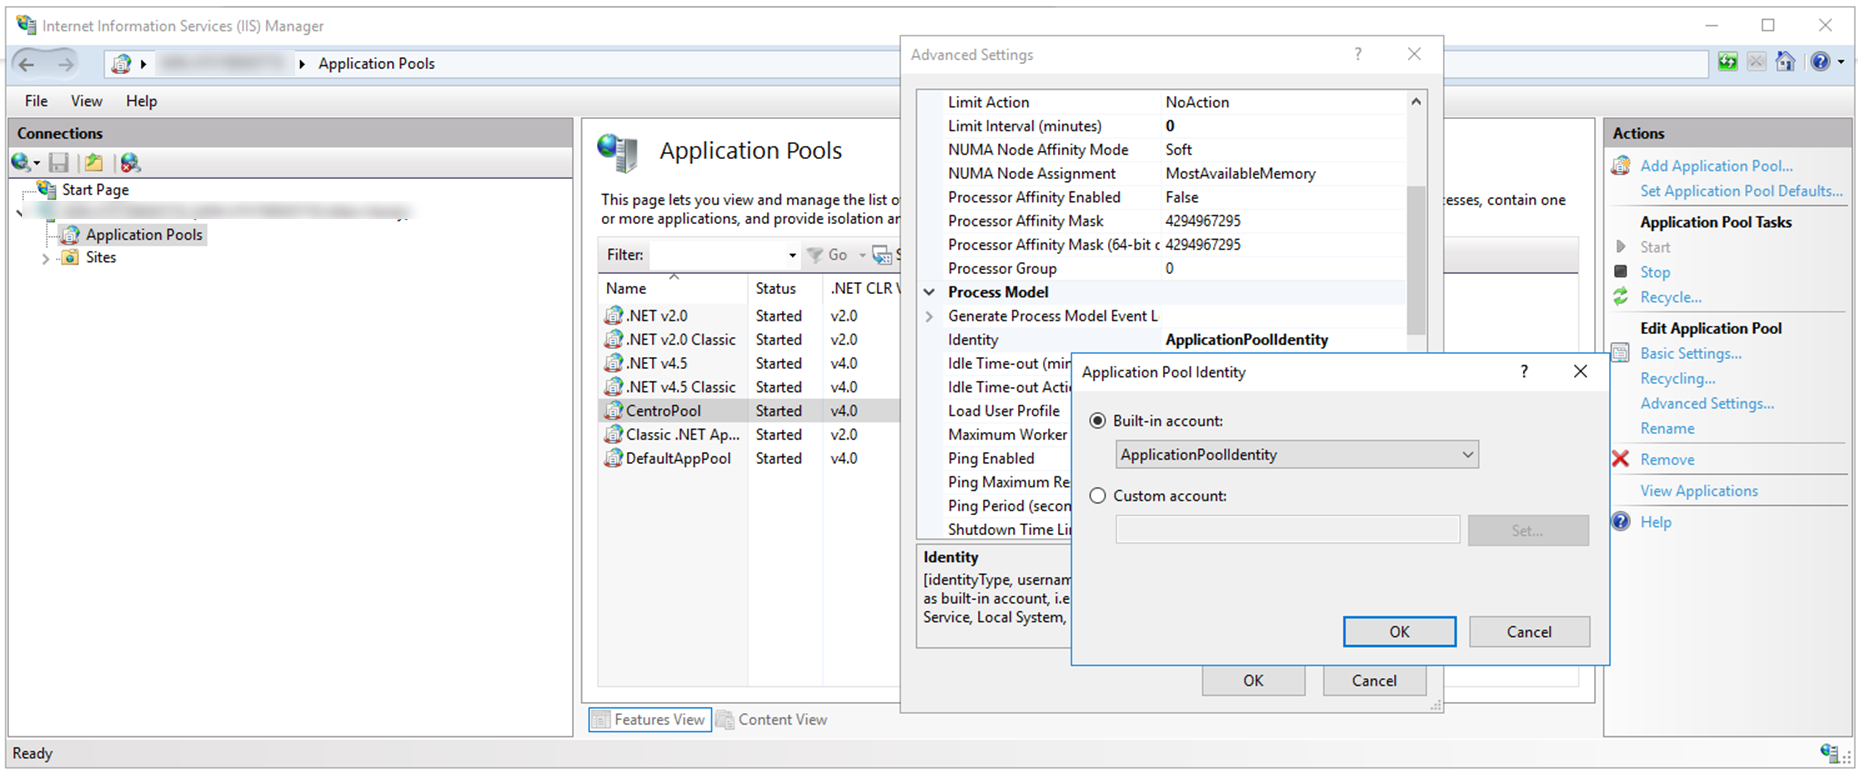
14. If this is the first time installing SpinFire Manage WebApp, the SpinFire ManagePool user credentials must be updated. (Updating SpinFire Manage version will retain the user credentials.)
This step is necessary for SpinFire Manage to have Read/Write access permission to network locations relating to SpinFire Manage.
IIS > Application Pools > SpinFire ManagePool > Advanced Settings > Identity
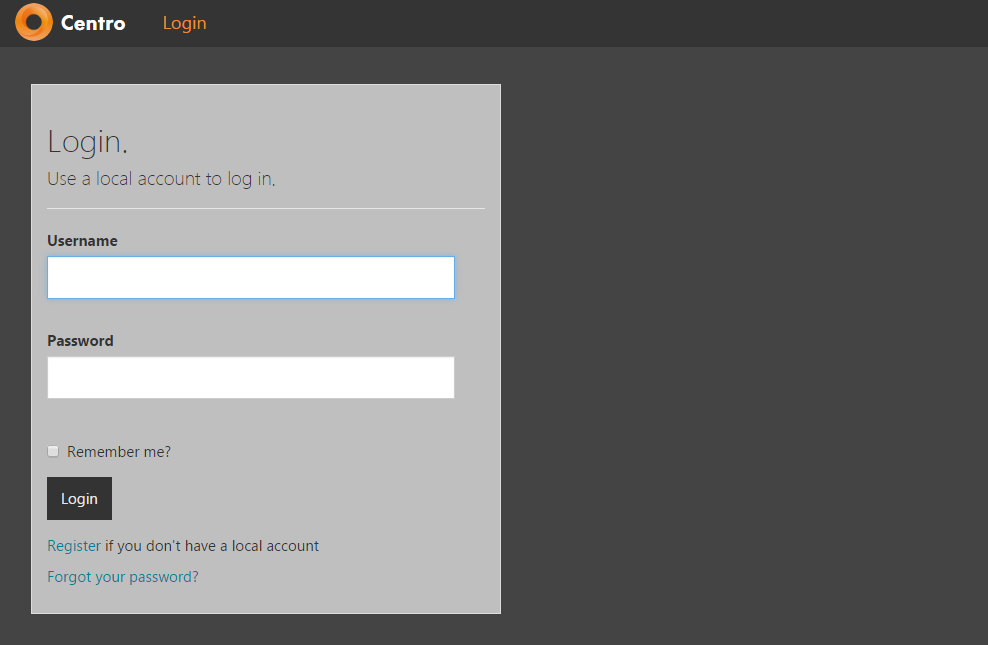
15. Go to the login page. Verify the site is accessible.
This step is necessary especially for distributed deployments to attach the Location properly to the System Pipeline.
IMPORTANT NOTE:
If this step is skipped the Pipeline Manager Service WILL NOT START as this sets the parameters in the ArangoDB "Locations" Collection.