Attributes such as CAD file metadata and file information is available when previewing a CAD model in SpinFire Web.
The attributes are contained on a sliding panel from the right of the page. Use filter data from the Fitlers tab, showing only the information you deem relevant. Save the filter for later use or create others for different views into the data.
Create and use filters to move quickly through different views of data.
To create a filter:
Set the items to show.
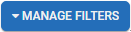
Click the MANAGE FILTERS button on the Filters tab.
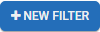
Click New Filter.
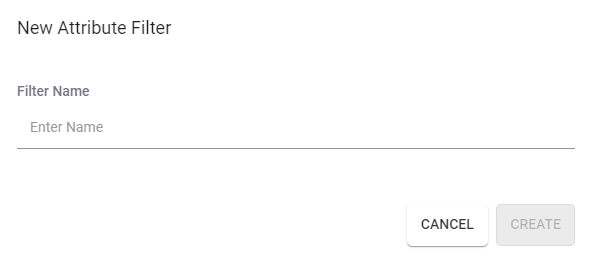
Enter a filter name in the New Attribute Filter dialog box.
Click Create.
To recall a filter:
Click the MANAGE FILTERS button on the Filters tab.
Click the filter to enable.The enabled filter now appears in a darker color.
To update a filter:
Select the filter.
Set the attributes to show/hide.
Click the MANAGE FILTERS button on the Filters tab.
Click the Save Filter icon.
To delete a filter:
Click the MANAGE FILTERS button on the Filters tab.
Click on the respective delete icon.
To setup using SpinFire Web Attributes:
Create or edit a pipeline.
Edit the CAD to SpinFire Web action.
Enable the Create ModelMap setting.
Save the pipeline.
Redeploy and run the pipeline.
Note: This setting is on by default when adding the CAD to SpinFire Web action and Add to Catalog is checked.
Capture images and conduct a dialog via comments with SpinFire Manage's collaboration feature.
SpinFire Web files created without a Model Map must be recreated with the setting enabled in the pipeline action. This includes pipelines created and used before SpinFire Manage 7.1.0.
JavaScript errors detected
Please note, these errors can depend on your browser setup.
If this problem persists, please contact our support.