ArangoDB Upgrade
The following outlines the steps to upgrade from your current ArangoDB to a newer version.
We would always strongly recommend backing up your VM/Server prior to following these steps. These steps should take approximately 20-50 minutes to complete.
Please note these screenshots are for illustration purposes only.
1.Check ArangoDB version installed by opening Command Prompt
On your Windows server that contains ArangoDB, in a command prompt, type
arangosh
Enter the root password and then check the version (highlighted in yellow below)
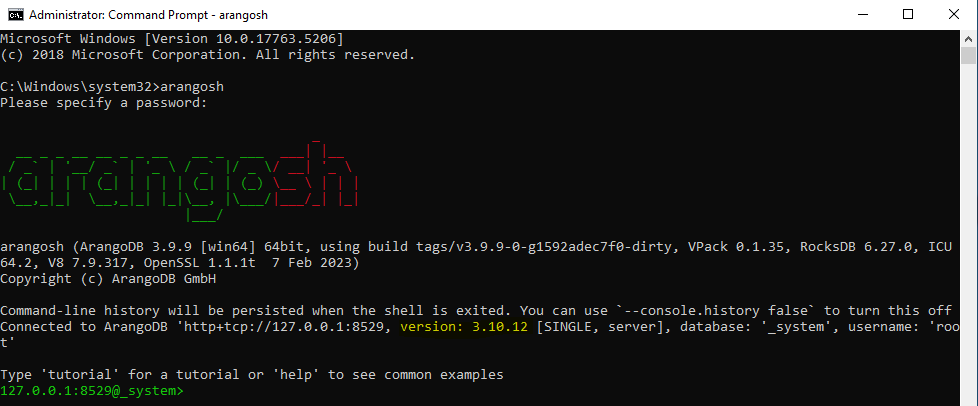
Or from the browser log into ArangoDB and check the version bottom left of the user interface.

2. Shut down the Centro Web App in the IIS

This is to prevent any addtional changes to the database by shutting down Centro. First start wth the web app.
Notify your user base on downtime.
Make sure there are no files being processed in the Centro Pipeline Manager.
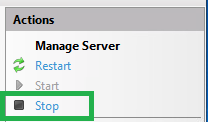
Bring up IIS Manager on your web server.
Click Stop on the right side.
3. Stop the Pipeline Host service
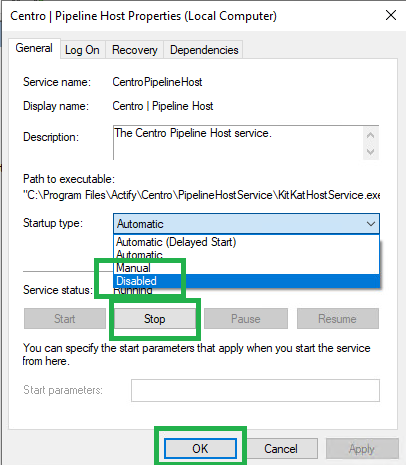
Stop and disable the Pipeline Host service to prevent it from restarting on its own.
Bring up Services.
Double click on Centro | Pipeline Host.
Click Stop.
Set the Startup type to Disabled.
Click OK.
4. Stop the Pipeline Manager service
Stop and disable the Centro Pipeline Manager service to prevent it from restarting on its own.
Again bring up Services.
Double click on Centro | Pipeline Manager.
Click Stop.
Set the Startup type to Disabled.
Click OK.
5. Back up the database
Open a command prompt.
Navigate to an approprate folder that holds Arangodump.exe (i.e C:\Program Files\ArangoDB3e 3.x.x/usr/bin). If there are more versions under “C:\Program Files\”, it will be the latest version, this can be double checked by logging into your ArangoDB Website)
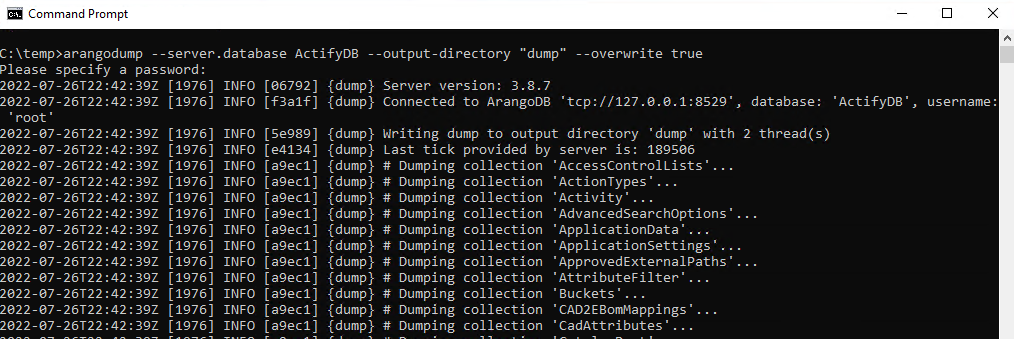
On the command line, use the arangodump command.
Usage:
arangodump --server.database [database name] --output.directory “[dir name]”Notes:
* The default Centro database name is ActifyDB.
* The directory the files are exported to does not have to exist beforehand.
* A valid ArangoDB root password is needed for this step.Add --overwrite true if you rerun the command and want to overwrite the existing files.
Example
arangodump --server.database ActifyDB --output-directory "dump" --overwrite trueAt the time of this writing there are 75 collections dumped.
6. Store a copy
In case of a catastrophic failure, save a copy of the back up folder/files on a separate system or drive.
Make sure the separate system is secure and conforms to your organizations security protocols.
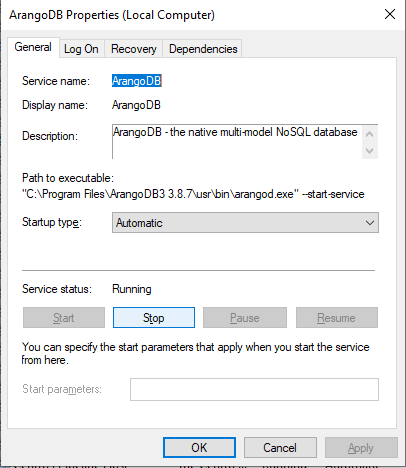
7. Stop arangodb3
Stop the ArangoDB service.
Again bring up Services.
Double click on ArangoDB.
Click Stop.
Click OK.
8. Save backup of the Arangod.conf file
Go to the c:\Progam Files\ArangoDB 3.8.x\etc folder.
Save the arangod.conf file to another directory/hard drive that can be used as a backup in case the original is lost or corrupted.
9.A Method A (ArangDB Upgrade)
This is the recommended approach. Install the consecutive versions of ArangoDB until you are on the latest Supported version of SpinFire Publish (ArangoDB Compatibility Chart).
If your version of CAD Publisher supports up to ArangoDB 3.11.x you can use the example below:
Example:
Upgrading from ArangoDB 3.6.8 to ArangoDB 3.7.18
Then upgrading from ArangoDB 3.7.18 to ArangoDB 3.8.9
Then upgrading from ArangoDB 3.8.9 to ArangoDB 3.9.9
Then upgrading from ArangoDB 3.9.9 to ArangoDB 3.10.13
And finally, upgrade from ArangoDB 3.10.13 to ArangoDB 3.11.9
Note - Upgrading that skips major versions, such as 3.6.x to 3.10.x is not officially supported. The officially supported upgrade path is the example given above.
Note - Once you have finished upgrading to the latest ArangoDB, ensure you can log into the ArangoDB System as well as the ActifyDB using credentials before proceeding with the deploy script to update the ActifyDB.
In the above example, you would need the following:
ArangoDB3-3.7.18_win64.exe
ArangoDB3-3.8.9_win64.exe
ArangoDB3-3.9.9_win64.exe
ArangoDB3-3.10.13_win64.exe
ArangoDB3-3.11.9_win64.exe
We would strongly recommend reaching out to the SpinFire Technical Support Team for the appropriate versions to use for this method by reaching out to them at spinfiresupport@techsofted.com or https://support.spinfire.techsoft3d.com.
Once the ArangoDB version is updated, do the following steps to update the ActifyDB:
Unzip the Centro.zip
Open the unzipped folder and Extract the the C7-deploy-8.x.0woxxxx.xxxx.zip file. Which will show you the content shown below:
(Note - This image is for illustrative purposes only)

In the Power Shell (Or Command Prompt while running it as Admin), navigate to the deploy folder you have just unzipped.
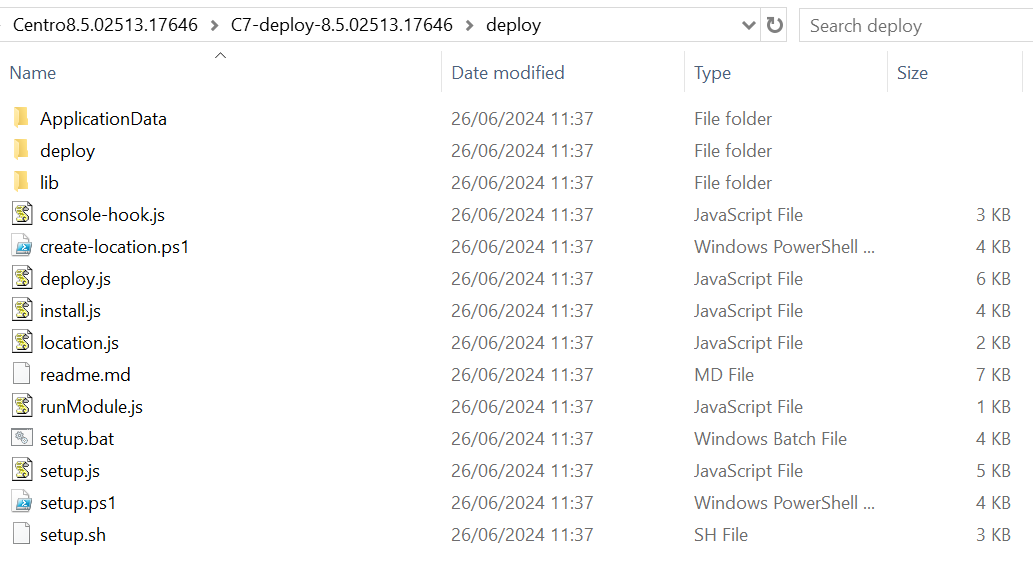
Run the Setup.bat file via PowerShell or CMD as Admin (NOTE - Do not double click or try to right click and run as admin, this will not work, it must be executed within Command prompt or Powershell.
Follow the instructions below:
Opens image in full screenOpen
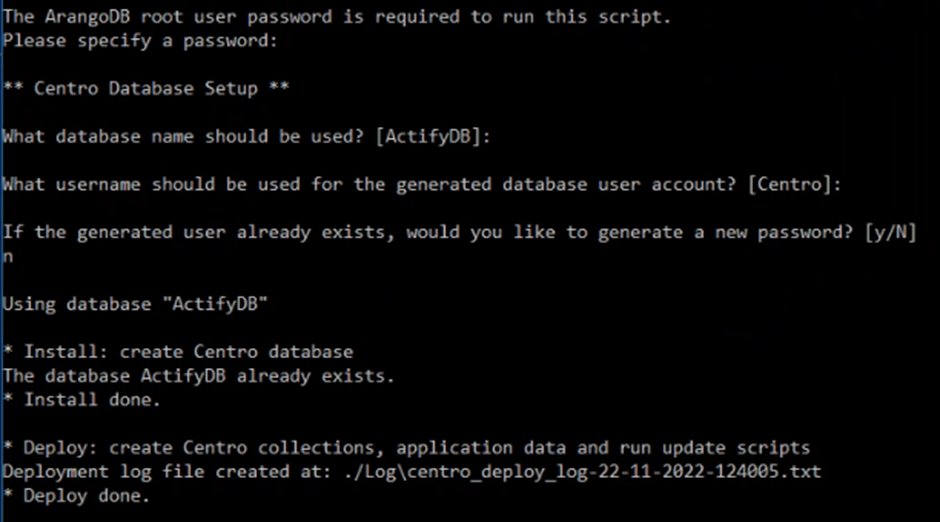
Press Enter for “What Database Name should be used? (Do not change it)
Press Enter for “What username should be used for the generated database user account?” (Do not change it)
Type n for “If the generated user already exists, would you like to generate a new password?” and press Enter.
You will not see any error messages, meaning the ActifyDB upgrade has been successfull.
9.B Method B (ArangDB Upgrade)
This is the original method that was used to upgrade your ArangoDB to the latest version. It is not officially recommended to use this approach anymore, the officially supported approach recommended by ArangoDB is to install consecutive versions of ArangoDB as per 9.A instructions.
First, Uninstall Arangodb
Open Programs and Features.
Select ArangoDB3e 3.x.x in the list.
Click Uninstall/Change.
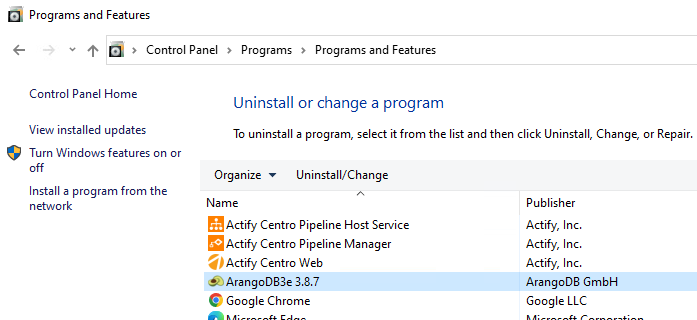
4. Follow the uninstall wizard.
5. When asked do not delete ArangoDB user elements. Leave it unticked.
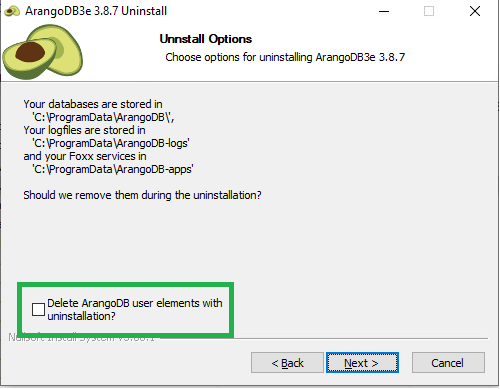
10. Install Arangodb Community Edition
Download ArangoDB Community version 3.x.x for Windows. (Tech Soft 3D can provide you the download links)
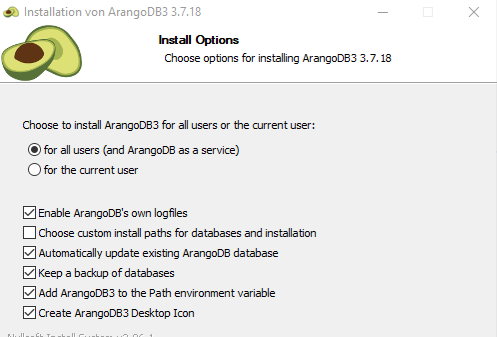
Double-click on the ArangoDB installation and follow the wizard instructions. (Note - Do not change the ticked/unticked boxes shown below, leave as default)
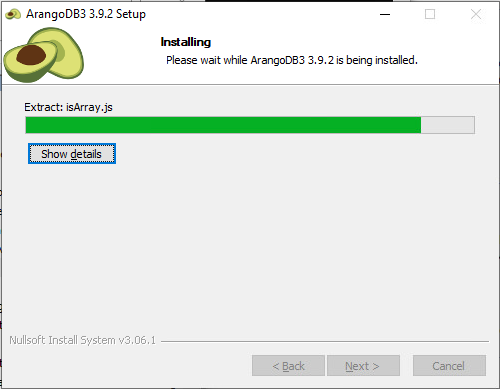
3. Once complete, stop the ArangoDB service in Services if it has started.
4. Adjust configuration such as any endpoint adjustments for GUI. The arangod.conf file can be found and edited in the C:\Program Files\ArangoDB3 3.9.2\etc\arangodb3 folder (depending if you’ve used the default and depending on the exact version).
You can apply the arangod.conf file save from step #8.
If you utilize an encrypted link (SSL) between the database and Centro make those adjustments.
Restart the ArangoDB service in Services,
11. Restore the database
On Windows, the database should still be intact. However, if you find that the database and the data is not there then restore the database through the following steps.
Open a Command Prompt.
Navigate to the folder above the folder where you dumped the database.
From the ArangoDB Web GUI (localhost:8529), login as the root user.
Select _System.
Create an empty database with your database name
(Centro defaults to “ActfyDB”).On the command line, use the arangorsetore command.
Usage:
arangorestore --server.database [database name] --output.directory “[dir name]”
Example
arangorestore --server.database ActifyDB --input-directory “dump”12. Start the Centro Web App
Bring up IIS Manager on your web server.
Click Start on the right side.
13. Start the Pipeline Host service
To start up the Pipeline Host service.
Bring up Services.
Double click on Centro | Pipeline Host.
Set the Startup type to Automatic.
Click Apply.
Click Start.
Click OK.
14. Start the Pipeline Manager service
To start up the Pipeline Manager service.
Bring up Services.
Double click on Centro | Pipeline Manager.
Set the Startup type to Automatic.
Click Apply.
Click Start.
Click OK.
15. Test for completion
Verify your update and data restore worked by conducting the following simple tests.
Verify the database is a Community version and is 3.9.x.
To do this login to the web GUI.
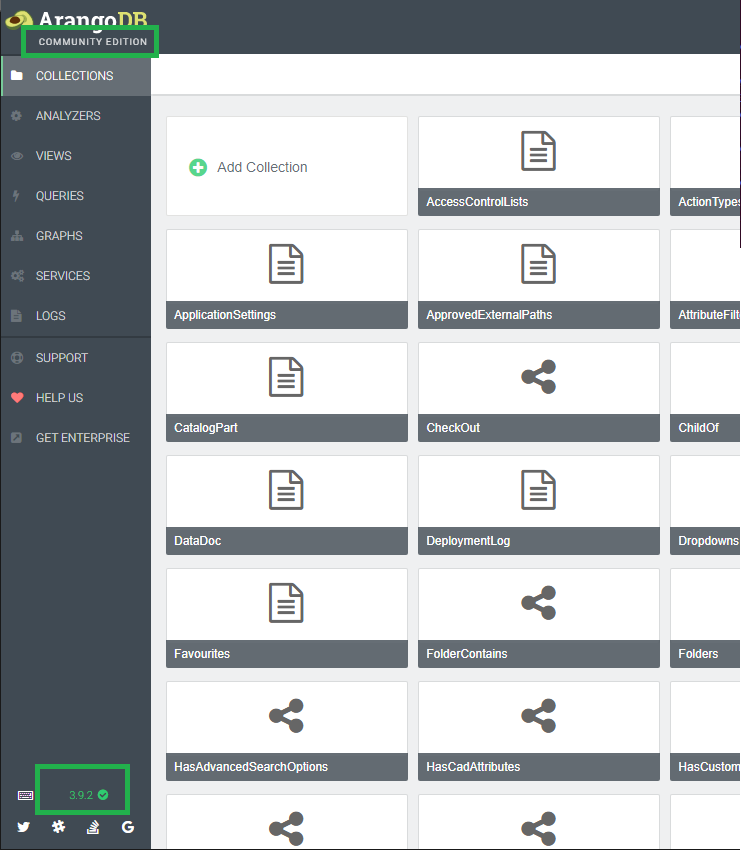
If you are NOT updating your CAD Publisher software. Proceed back to Step 3 and 4 to change the startup types for those services back to “Automatic” for the Pipeline Host and Pipeline Manager, as shown below.

Login to the CAD Publisher website to ensure it still loads with no errors. Logging into CAD Publisher validates the database is still accessible after the upgrades.
ArangoDB upgrade procedure has now been completed!
16. Next, Upgrading the CAD Publisher Software
Proceed to the CAD Publisher Upgrade page to find the instructions.
SpinFire Publish Upgrade (help.spinfire.com)
